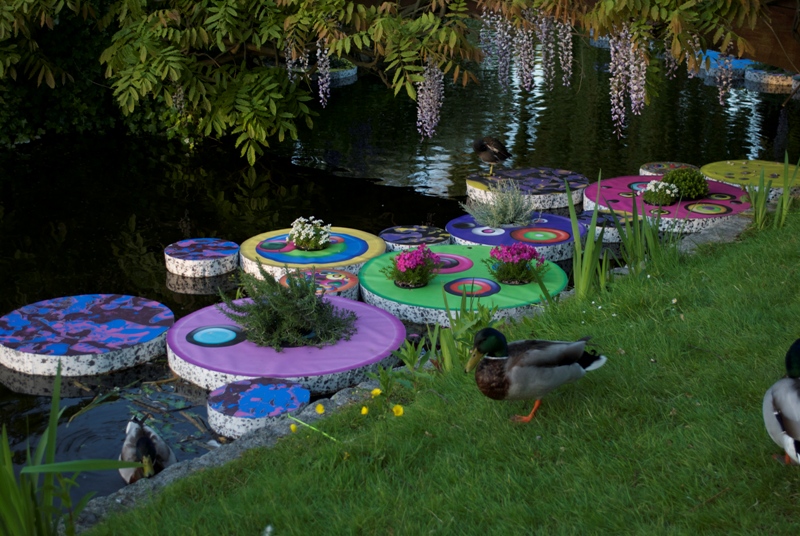
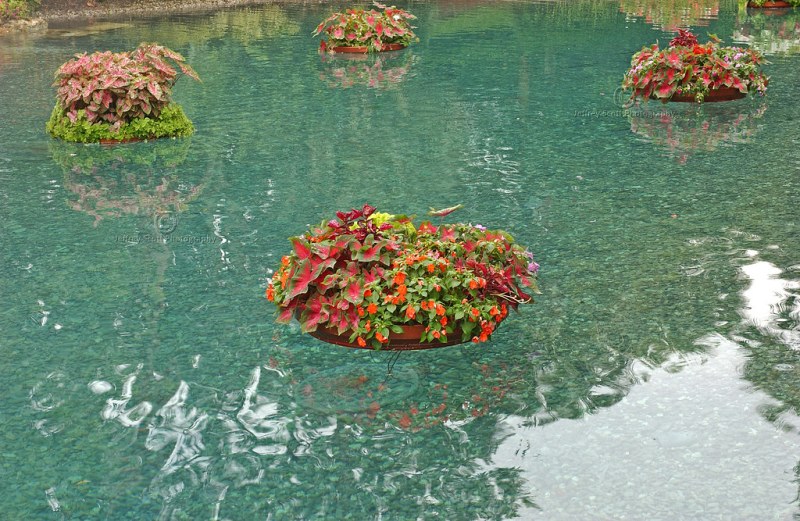
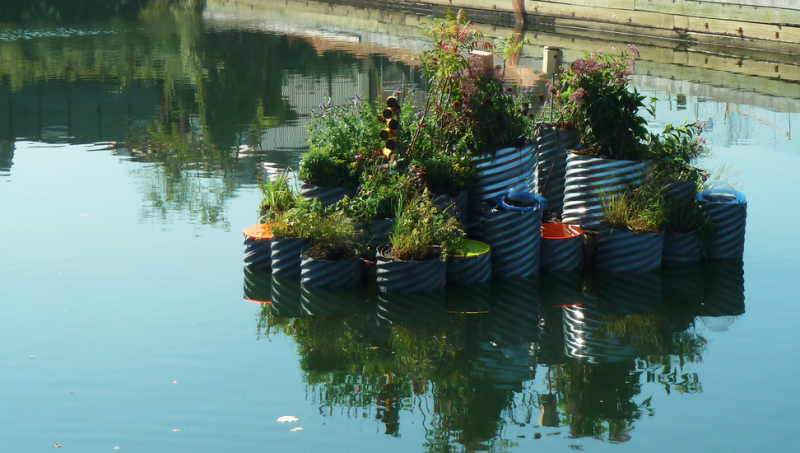
Aztecs around 500 years ago made the very first floating gardens, and they truly amazed conquistadors. Aquatic gardens look fabulous, but it feels like only professionals can create such amazing things. It is, however, a very wrong impression. Everyone can design and build a floating hydroponic garden. Many people believe that it’s expensive, and not everyone can afford a home-made hydroponic system, but this is just another popular belief, that has nothing to do with reality.
Floating gardens not only look beautiful, but they are a useful, and effective way of cultivation as well. You can get plenty of vegetables, that are super nutritious, and free from any pest problems that are connected to the soil. Here, you will find out how to make a floating garden, using inexpensive materials, from local markets. So, let’s get to work!
But, before you start, you have to know one more crucial fact about water aeration. It’s essential to provide the best growing conditions. That’s why you have to think about what you can do, to provide them. The best option is getting a pond aerator. This little device increases dissolved oxygen levels in your water, and therefore the filtration is more efficient. High oxygen levels increase the number of natural aerobic bacteria and stimulate their growth. Your plants will be much healthier if you implement it in your aquatic garden. There are other ways of providing oxygen to your water garden too, but pond aerator is arguably the most effective method out of all of them. Thanks to the excellent growing conditions that aerator provides in your water, it’s well worth to get it.
How can you build a floating hydroponic garden?

Now that you know the essentials let’s build your hydroponic garden. First of all, get some treated lumber, and create a rectangular-shaped frame. The ideal size would be two by six-inch, but two by eight-inch is fine as well. When it comes to framing, it should be four feet, one-inch wide by eight feet, and one-inch long. These are recommended sizings, that will eliminate the need to trim floating styrofoam. However, it’s just a suggestion, and if you need your floating garden to have different sizes, then go ahead and adjust it accordingly to your preferences. There are no limitations in this matter.
Once you make that, line your box frame with polyethene plastic. You need to do that, in order to create a trough, which will contain nutrient solutions. Make sure that the site is level and litter-free because else, the liner can puncture or even fracture.
Now, using wood screws (you could also use other types of nails), secure the side and one end of the liner to the top edge of the frame with one by two-inch furring strips

Now that you did it, the time for insulation has come. Get and place four by an eight-foot sheet of thick styrofoam (preferably 1,5 inch thick) in the lined frame. The edges should have enough room so that the garden can move up and down. It might be necessary to correct the frame to square it with styrofoam. Polystyrene foam sheet will create a floating platform in the wooden box that you constructed.
Now fill your floating garden with roughly twenty gallons of water. The liquid will form the plastic sheeting to the side. You have to secure the second end as well as the side of the liner to the top edge of the frame.
Keep pouring the water to your new aquatic garden. Count how many gallons of water you added. Total liquid depth should be a minimum of five inches.
Once you do that, add water-soluble fertilizer, which provides all the necessary nutrients that your plants will need. Make sure that it contains micronutrients. The perfect ratio should be one or two teaspoons of fertilizer for every gallon of water that you poured. Besides, make sure to add Epsom Salts. One teaspoon for every gallon of water you used should be the optimal amount. It’s best if you mix fertilizer in some bucket before you actually add it to the water garden. Keep in mind that this fertilizer is designed for water that contains a lot of calcium. In case calcium level in water is low, you have to add this element from a hydroponic supplier. If you did everything right, the water pH should range between 5.5 to 6.5. When the pH is too high, you can use household vinegar to lower it a bit.
Anyways, your floating garden is ready now, and you can start thinking of what should you plant, and how awesome experience (and fun) it is!
People believe that floating gardens is impossible to create without the help of professionals and advanced equipment. As you can see, there is nothing complicated about it, and with a little bit of time and effort, you can build yours easily, even without any experience.

