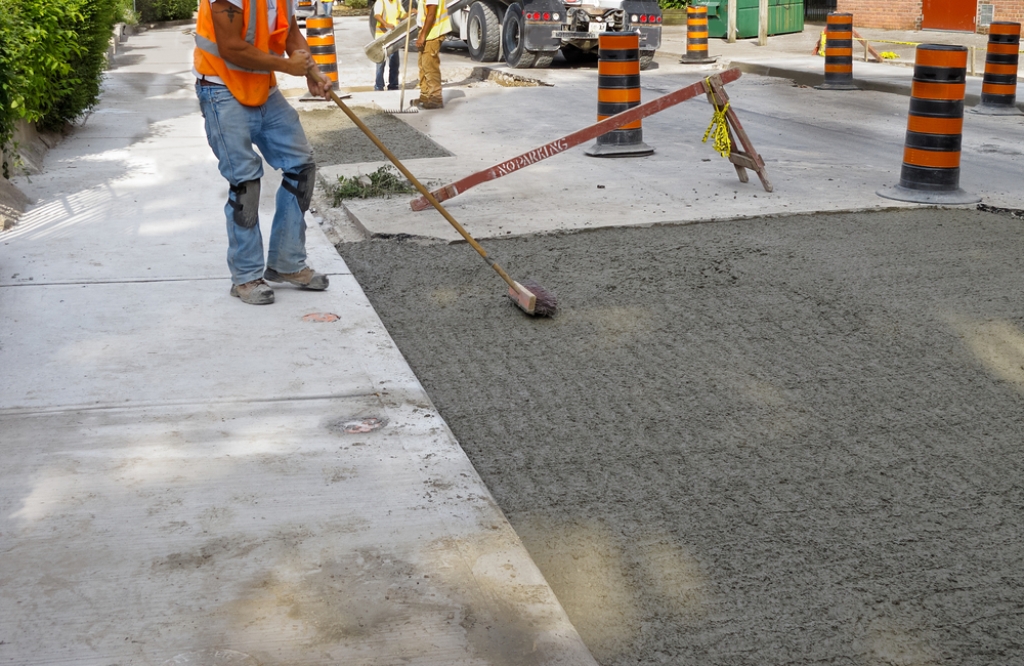
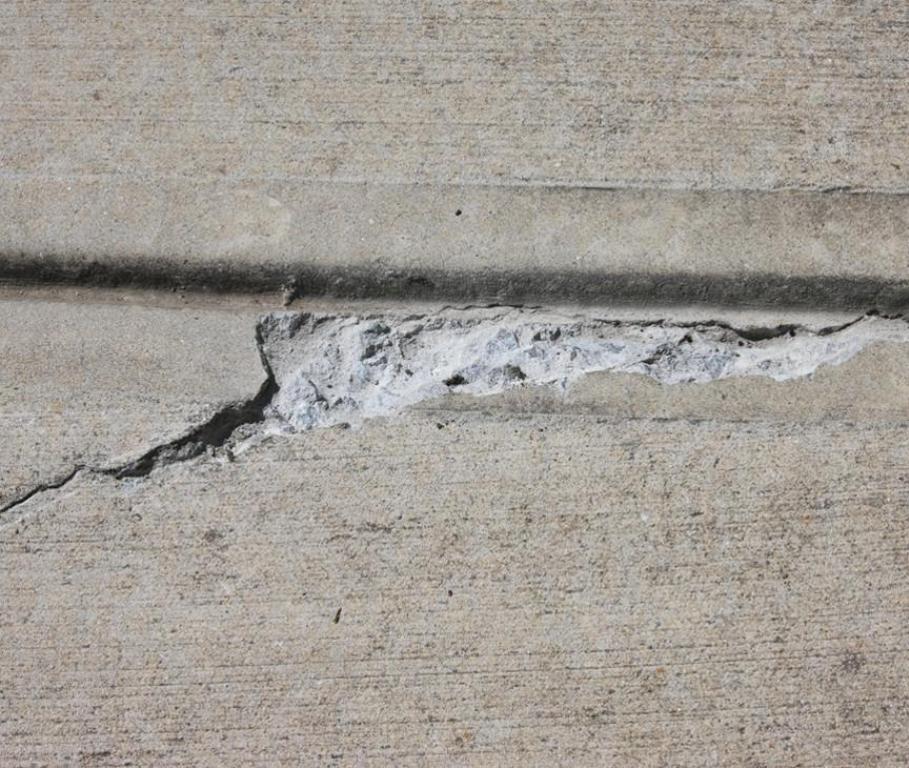
Due to wear and tear, sometimes unsightly holes and cracks appear on the concrete areas surrounding your house. If you leave them alone and pretend they don’t exist, it will have detrimental consequences. Things will get worse if left to the elements of nature. Water seepage and the harsh sun will only make the tiny holes and cracks become bigger and bigger with each passing day. Here’s how to fix the cracks in your concrete driveway, patio, pool area, or garage floor. Doing it DIY style will save you tons of money on material and labor costs:
Step 1: Clean the Damaged Area
You have to clean out the area which shall undergo the repairs. Take out all the debris from small pebbles, dust, and other particles that are near your concrete crack You can use a vacuum to ensure that everything is out of that tiny crack or hole. Sometimes, the dirt stuck in between crevices are too stubborn, so you may have to wash them all away with water.
Step 2: Dry Out the Area
After cleaning, you have to thoroughly dry to the area. You can leave it alone for a few hours, or if you’re feeling impatient, you can actually blast the spot with your hair dryer. Remember, your patching material will not stick and bind itself to anything that is wet, so take out that moisture.
Step 3: Prepare Your Tools
You cannot start any DIY project with the right set of tools and as this is not obviously going to be your last project you really need to plan tool safety. For this particular concrete patching job, you shall need working gloves to protect your hands, safety goggles to protect your eyes from small debris, a bucket where you can mix materials, steel brush, and pointing trowel.
Step 4: Buy the Materials
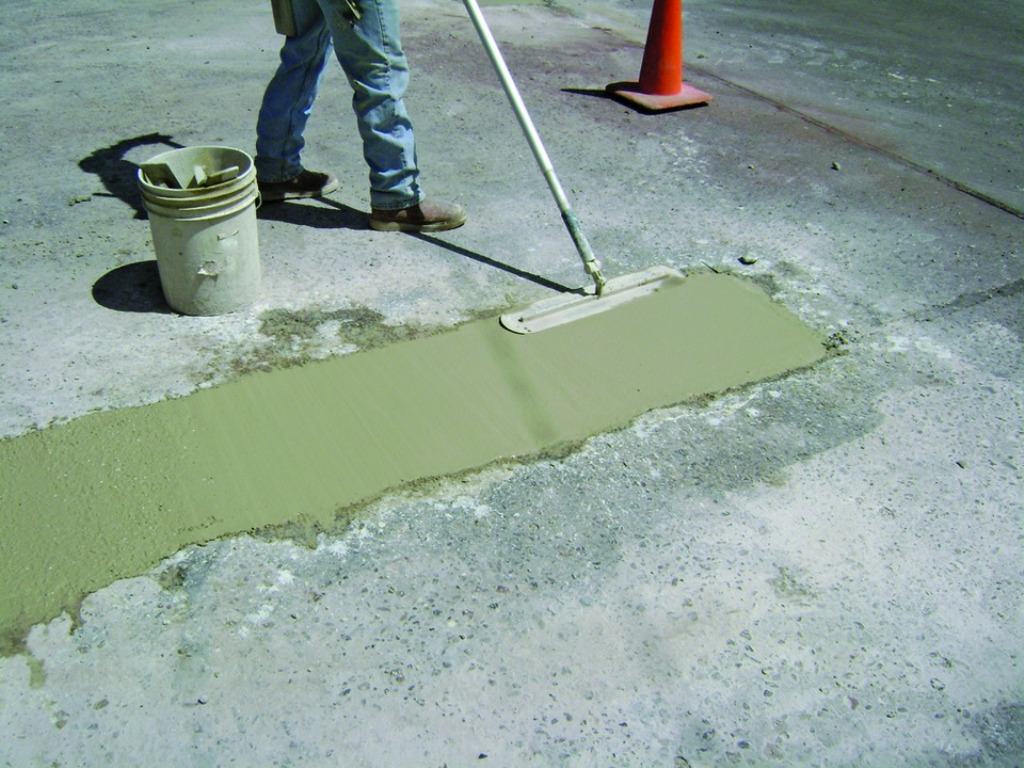
You have to buy all the materials, including some tools mentioned above which you may not have. You will also need a mortar repair tube, concrete sealer, and concrete patch material from any home or hardware store. Your concrete repair job will not be successful without all of these things. A soldier who goes to ward without his complete battle gear is setting himself up to fail.
Step 5: Apply the Mortar Repair
Fill your caulking tube with the mortar repair that you bought from the store. You have to use this to ensure that the small crack or hole gets as much material as you can possibly fit in the crevice. You must force it into the crack to seal it, so that water will no longer seep in and to prevent the water from leaking into the concrete.
Step 6: Smooth the Mortar Repair
After application, you have to smooth out the mortar repair to make sure there are no unsightly and uneven bulges. The tip of the caulking tube will help you smooth out the material. If it is difficult to control with the tip of the tub, you can use your finger to get an even more smooth finish.
Step 7: Mix the Patch Material
For larger cracks and holes, it is time for you to bring out the big guns. Make a batch of concrete patch, which you can buy in small bags. Don’t get too big a bag because you’ll only need a little. Concrete will eventually go stale and become unusable, so a small bag is better. Carefully read the manufacturer’s instructions that is written on the bag and be sure to follow everything to mix a proper batch. Failure to comply will result in an unfit product.
Step 8: Patch the Larger Holes
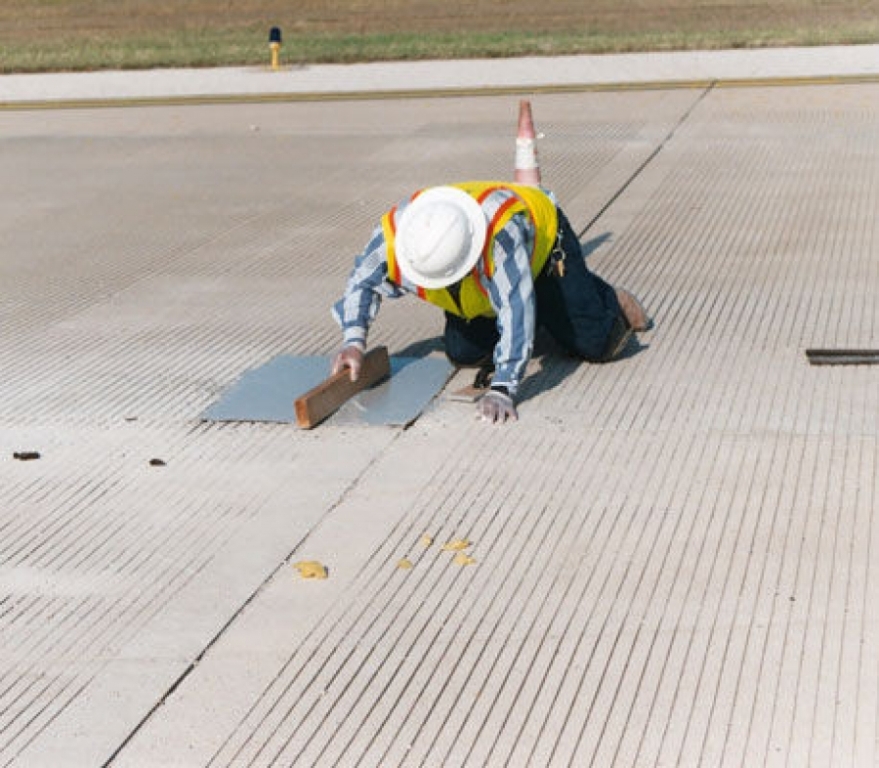
Get your pointing trowel and take some bit of cement from your bucket where you mixed the concrete patch material. Place the trowel over the crack and push the cement into the holes. Sometimes, if the holes are too big, you may have to do this layer by layer and slowly build up the cement. This ensures that your hole does not have any air pockets.
Step 9: Smooth Out the Patch
You have to smooth out the concrete patch with the bottom part of the pointing trowel to make sure that the surface of your concrete is truly flat. If this is too difficult for you, you can ask Renucrete for some tips and tricks to get that smooth finish.
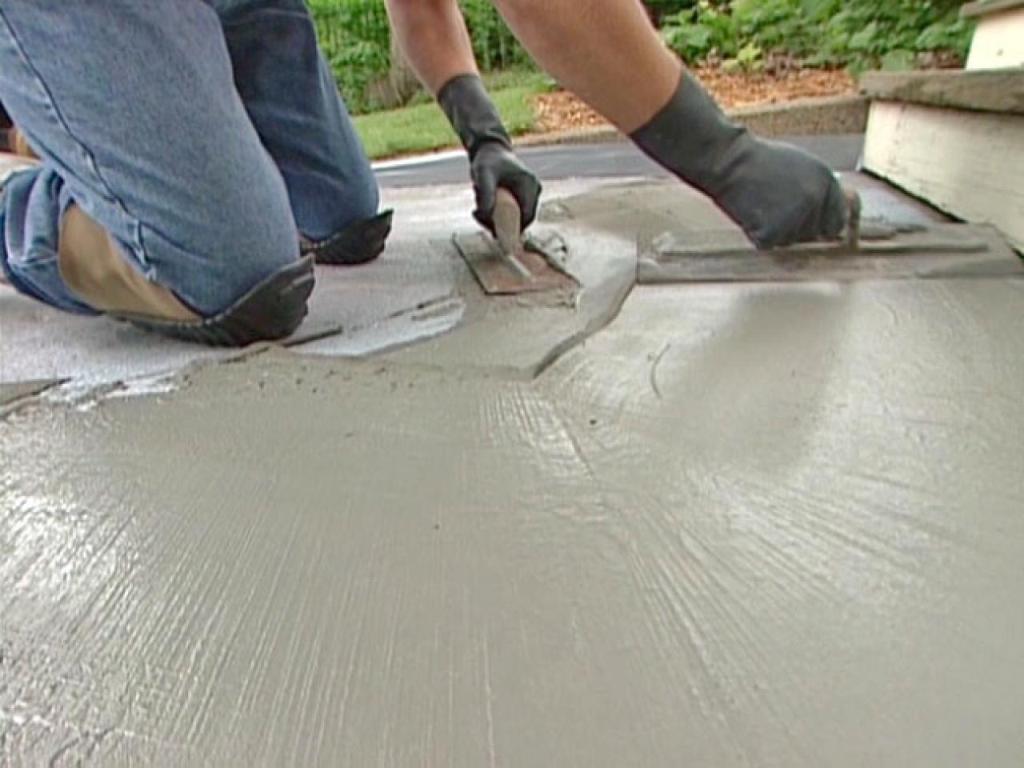
Step 10: Seal the Patch
Keep everyone from kids and pets away from the patch as it cures. After the curing process, apply a concrete sealer to prevent water from seeping into the patch and creating the same damage again. Sealing is the final stage that secures your concrete from further damage.

