
Setting up a theatre arrangement within any place ensures a high-end experience with the usage of quality electronics. Amongst these is the Onkyo TX-NR656; this particular device enhances the deliverance of entertainment through its multiple and versatile features. Some of these include the FlareConnect- it is a component that connects the external inputs to motley speakers in other locations in a manner that is compatible and functional. Furthermore, it also consists of HDMI terminals, which effectively provide assistance to formats such as 4K/60 Hz/HDR/HDCP 2.2.
The audio is amplified in a dynamic manner through the utilization of the TX-NR656 since it supplies sound with utmost clarity and precision control. The system can be used for listening to music played through apps, watch movies, or TV shows, which in turn casually upgrades your everyday streaming. This is additionally made possible through the use of a firmware update. Setting up a system as such can seem quite intimidating, but it is relatively easy in actuality. Emphasized upon below are a few steps on going about the setup of a theatre system in a house.
Assignment of the sound components to create effects across the space concerned
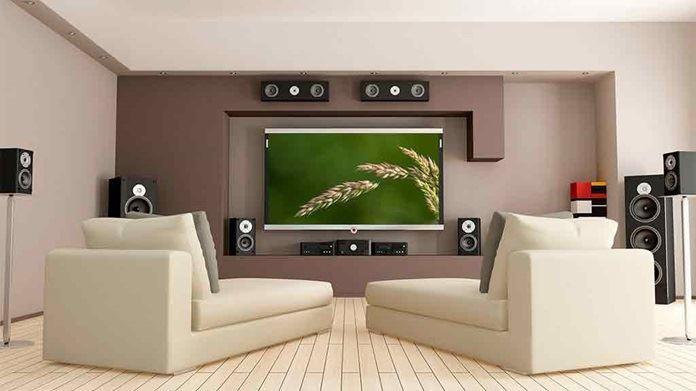
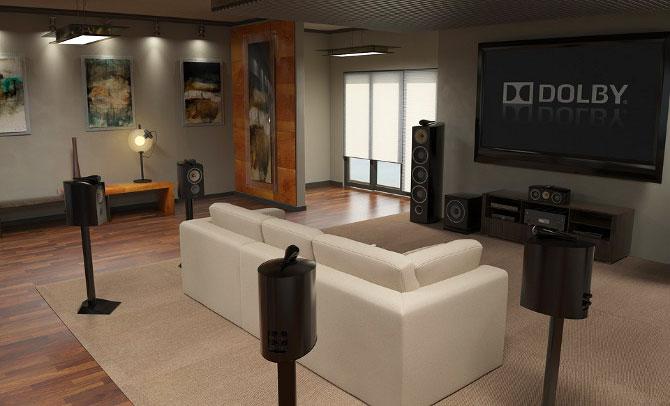
To begin with, two primary options that come with the speaker arrangement of home theatre setups are namely 5.1 and 7.1; the former is meant to order the speakers on the front side, accompanied by simple one speaker in the center, another two speakers at the back section and a subwoofer. The latter sector of arrangement is alike the 5.1 as well, except there are two central speakers rather than one simple speaker. The following speakers are marked, so the placements are not prone to confusion. It allows a user to position them in a manner that encourages the sound to engage in the entire space and give you the effect of a cinema within your own private setting.
Electric wiring the components and the receiver unit
Speaker connections possess either clip-on or dedicated speaker connectors in the form of spade lugs and jacks. This is widely based on the respective model. Clip-on is seemingly more well-liked; this is where a singular speaker consists of a pair of clips inserted into it in the form of bare wire. Doing so permits connectivity to be established between the two prime components so that signals may be traded for the creation of sound.
Transporting audio from one sector to the home theatre setup
![]()
There are assortments of audio inputs that can be used. Some of these are digital players, a TV, a mobile or a laptop, and even a music player. The setting up of the audio-in interface strictly depends on the kind of audio-input that is being utilized for the home theatre setup, and thus, you must proceed accordingly. A user would be required to make use of connectors that are attuned with the interface. For example, in the case of a TV, it can be linked with the HDMI or the audio jack that is 3.5mm, or even the Display port input. In relevance to a personal computer, the HDMI, 3.5 mm jack, or an optical audio input can be made of use. Options such as DVDs function in the same manner; however, you can also possess the additional alternative of an AV connector.
Relating video and sound to the TV and Auxiliary
The staple audio, which is habitually sent to the audio output, can switch trails and be shipped to other devices such as loud systems and TVs. This type of connection once again depends on the range of alikeness between the sound and the TV. Some of these options include optic audio out, an AV audio out, or even HDMI (amongst others).
This concludes the process and powering up of the home theatre system. You can now change the user settings as per your preferred experience.